
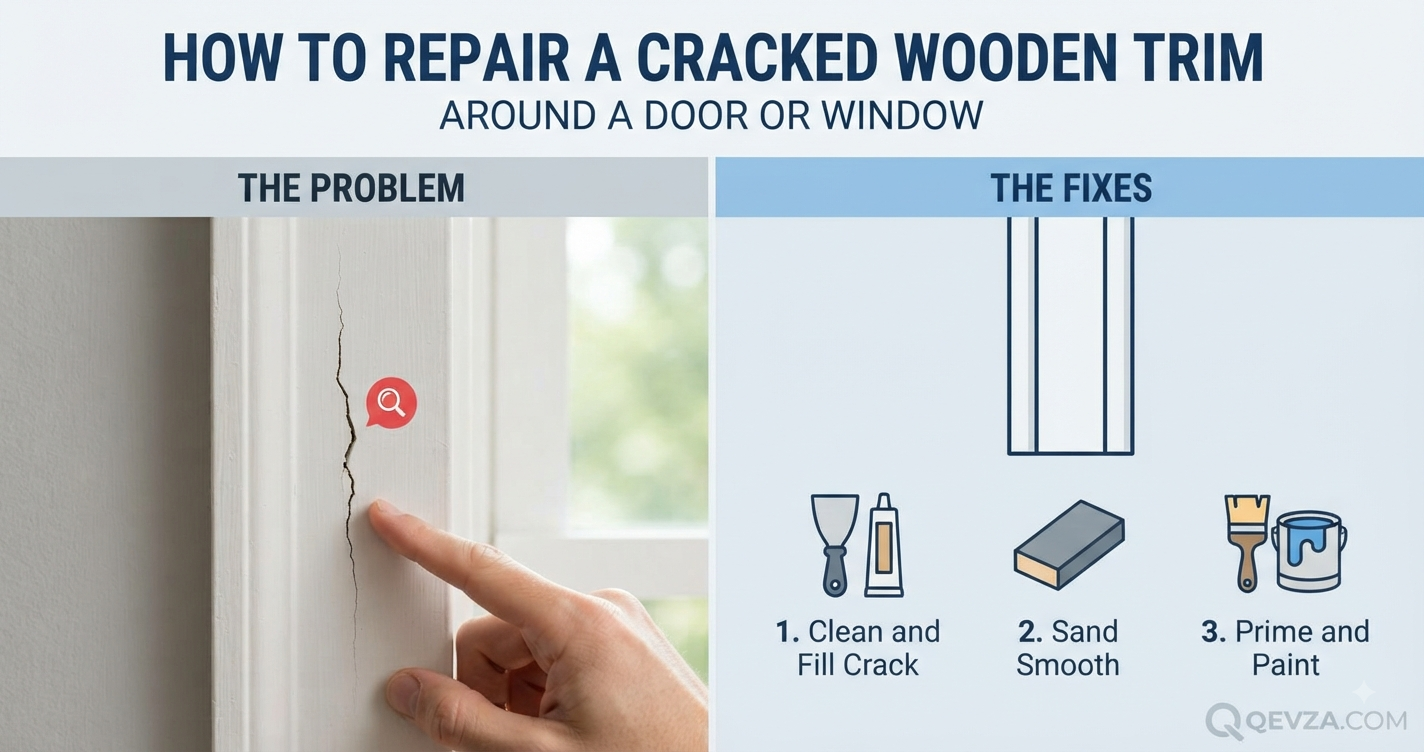
A hairline crack in your door or window casing might seem like a minor cosmetic nuisance, but if left unattended, it can widen over time, peel away from the wall, or lead to rot if moisture seeps behind the wood. Whether caused by seasonal humidity shifts, house settling, or simple accidental impact, repairing wooden trim is a manageable DIY task that restores a clean, finished look to your home.
You do not need to replace the entire piece of trim to fix a crack. In most cases, wood filler, patience, and a fresh coat of paint will make the damage invisible.
What the Problem Usually Means
Wood is a natural, porous material that reacts to changes in its environment. When it cracks, it typically indicates that the wood has reached its physical limit for expansion or contraction.
For smaller cracks, the issue is usually superficial—the paint has bridged a joint that has moved, causing a “checking” crack. For larger, deeper splits, the wood has physically separated, often due to structural stress or external impact. Identifying the depth and cause of the crack determines whether you need a simple filler or a structural adhesive.
Common Reasons This Happens
Understanding why the trim cracked helps you decide if you need a quick patch or a long-term adjustment.
-
Seasonal Humidity Swings: Wood swells in summer and shrinks in winter. If the trim is nailed too tightly to the wall studs, it cannot move freely, causing it to split along the grain.
-
House Settling: As a home ages, the frame can shift slightly. This movement puts tension on door and window casings, which are rigidly attached to the structural framing.
-
Improper Fastening: If the original installer used too many nails or placed them too close to the edge of the trim, the wood is prone to “splitting out” over time.
-
Impact Damage: Vacuum cleaners, moving furniture, or door handles hitting the trim can create localized dents and fractures.
What You Can Check Yourself
Before buying supplies, inspect the crack to choose the right repair method.
-
Check the depth: Insert a thin putty knife or a piece of paper into the crack. If it goes deeper than 1/4 inch, you have a structural split that requires wood glue, not just surface filler.
-
Test for loose pieces: Gently wiggle the wood on either side of the crack. If the trim feels loose or moves away from the wall, you must re-nail it before filling the crack, or the movement will simply break your repair.
-
Identify the material: If the trim is made of MDF (medium-density fiberboard), avoid water-based fillers, as they can cause the fibers to swell. Use oil-based or automotive-style body filler for MDF.
[Internal link opportunity: article about how to tell the difference between solid wood and MDF trim]
How to Fix the Problem
Follow these steps to ensure a seamless, long-lasting repair.
1. Secure the Trim
If the trim is pulling away from the wall, you must stabilize it.
-
Drive a 2-inch finish nail through the trim and into the wall stud near the crack.
-
Use a nail set to drive the head slightly below the wood surface.
-
Fill the nail hole with wood filler and sand flush once dry.
2. Prepare the Crack
-
Clear debris: Use a vacuum or a stiff brush to remove paint chips, dust, or old caulk from inside the split.
-
Widen if necessary: If the crack is very tight, the filler won’t penetrate. Use the tip of a utility knife to gently open the V-shape of the crack so the filler can grab onto the wood fibers.
3. Fill the Damage
-
For minor cracks: Use a high-quality, paintable wood filler. Press it into the crack with a putty knife, then swipe across the grain to level it.
-
For deep splits: Apply a thin bead of wood glue inside the crack, then use a clamp to pull the wood edges together. Wipe away excess glue immediately with a damp cloth and let it cure fully before proceeding.
4. Sand and Finish
-
Once the filler is completely dry, sand the area with 150-grit sandpaper, followed by 220-grit for a smooth finish.
-
Prime the patch: Wood filler is more porous than the surrounding wood. Apply a small dab of primer to the repair area; otherwise, the new paint will look duller than the rest of the trim (a phenomenon called “flashing”).
-
Paint: Apply two thin coats of matching trim paint, feathering the edges outward to blend the repair with the surrounding surface.
Common Mistakes to Avoid
-
Using Caulk for Large Cracks: Never use caulk to fill a wide split in the wood itself. Caulk remains flexible and will “sink” into the crack as it cures, leaving a visible depression. Use wood filler for wood cracks and caulk only for gaps between the trim and the wall.
-
Skipping the Primer: Applying paint directly over raw wood filler results in a noticeable “flat” spot. Always prime your repair.
-
Over-Sanding: Sanding too aggressively can remove the crisp profile or decorative edges of your trim. Use a sanding sponge to maintain the contour.
When You Should Call a Professional
Some cracks signal issues that go beyond the wood trim itself.
-
Cracks radiating from corners: If you see cracks forming a perfect “X” or diagonal line from the top corner of a door or window frame, this is a classic sign of structural settling or shifting. A contractor should inspect the area to ensure the wall header is stable.
-
Signs of Water Damage: If the wood is soft, dark, or peeling, you likely have a leak behind the wall from a window seal or roofing issue. Replacing the trim will not solve the underlying moisture problem.
How to Prevent the Problem in the Future
-
Maintain Humidity: Use a humidifier in winter to keep indoor air from becoming too dry, which causes wood trim to shrink and crack.
-
Use Flexible Sealants: When installing new trim, use paintable acrylic latex caulk at the joints between the trim and the wall. This material remains flexible and moves with the house, preventing future paint cracking.
Frequently Asked Questions
Can I use super glue for a cracked trim?
No. Super glue is too brittle for wood movement and will likely crack again when the temperature changes. Use dedicated wood glue for structural splits and wood filler for surface gaps.
Why does my repair keep cracking in the same spot?
The trim is likely loose or moving due to house settling. You must re-nail the trim to the wall studs before patching, or the physical movement will continue to break your repair.
Is wood putty the same as wood filler?
Not quite. Wood putty stays semi-soft and is used for filling nail holes after painting (on stained wood). Wood filler dries hard and is sandable/paintable, making it the correct choice for repairing cracks before you paint.