
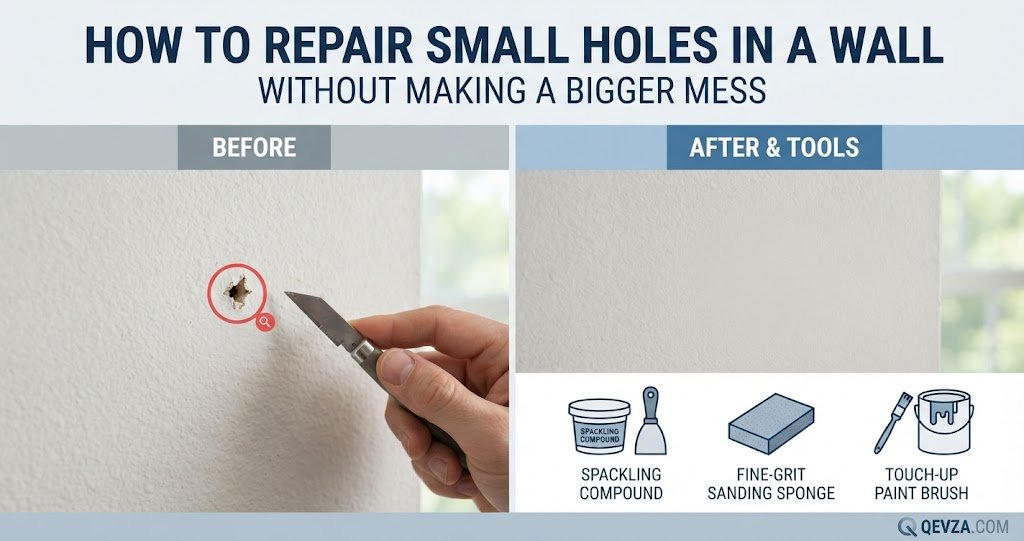
Nail holes, picture hook anchors, and minor bumps leave behind blemishes that catch the eye every time you walk into a room. Patching these small spots seems straightforward, but it often creates an unexpected secondary chore: sanding down a giant, chalky crust of excess spackle that spills across half the drywall.
With the right technique and minimal materials, you can fill small wall blemishes seamlessly without turning your living room into a dusty construction zone.
What the Problem Usually Means
Small wall holes—ranging from tiny finishing nail punctures to half-inch plastic anchor gaps—are cosmetic annoyances rather than structural threats.
When a nail is pulled from drywall, it often leaves a tiny raised collar of compressed paper and gypsum around the rim. If you slap spackle directly over this raised edge, the patch sits higher than the surrounding wall, creating a noticeable bump once painted.
Successful repair is less about slathering on compound and more about controlled filling, minimal scraping, and precise sanding.
Common Reasons This Happens
Every home accumulates small wall damage over normal daily occupancy.
-
Rehanging artwork and decor: Moving pictures, mirrors, or shelving units leaves behind rows of small anchor holes.
-
Door knob impacts: A door opened too quickly without a proper wall stop can drive the handle or lock rose straight into the drywall, creating a clean circular divot.
-
Furniture bumps: Moving couches, desks, or bedframes can easily ding baseboards and wall corners.
What You Can Check Yourself
Before grabbing any supplies, inspect the size and texture of the damage to determine what tools you actually need.
-
Feel the edges of the hole: Run your finger gently over the opening. If the drywall paper around the hole is puckered outward, it needs to be countersunk before patching.
-
Check the surrounding wall texture: Look closely to see if your walls are perfectly smooth or if they feature a light orange peel, knockdown, or stipple texture. Matching texture requires an extra step beyond flat spackle.
-
Determine the backing: Poke a cotton swab or toothpick gently into the hole. If it meets solid wood or metal framing right behind the drywall, you are dealing with a shallow surface ding. If it pushes straight into open cavity space, it is a hollow anchor hole that needs a backing surface or mesh screen to hold filler.
How to Repair the Hole Without Creating a Mess
By keeping your tools clean and working on a micro scale, you can patch small holes without covering your floors in drywall dust.
Step 1: Prep the Surface Cleanly
-
Take the tip of a Phillips screwdriver or a countersink tool and press it gently into the center of the hole. Twist it back and forth slightly.
-
This pushes any raised paper or loose gypsum inward rather than letting it stick out, ensuring your patch sits completely flat against the wall plane.
-
Wipe away any loose debris with a dry cloth.
Step 2: Apply Lightweight Spackle with a Putty Knife
-
Scoop a dime-sized amount of lightweight joint compound or vinyl spackle onto the edge of a small plastic or metal putty knife.
-
Press the spackle firmly into the hole at a shallow angle.
-
The golden rule of clean patching: Scrape the putty knife flat across the wall surface in an “X” pattern over the hole. This forces compound inside the void while scraping away excess material on the outside. If you leave a thick mound of spackle, you will spend ten times longer sanding it later.
[Internal link opportunity: article about essential tools every homeowner should keep in a basic toolkit]
Step 3: Sand Only What Is Necessary
-
Allow the spackle to dry completely. Lightweight formulas usually dry in 30 to 60 minutes; look for a color change from dark grey or pink to bright white.
-
Instead of using a bulky sanding block that scuffs up the surrounding paint, fold a piece of fine-grit sanding paper (150-grit or 220-grit) into a small square.
-
Sand the patch using gentle, circular motions until it feels completely flush with the wall.
-
Mess prevention tip: Hold a handheld vacuum nozzle an inch away from the patch while sanding to catch fine dust before it drifts into the air or onto your baseboards.
Step 4: Prime and Touch Up Paint
-
Apply a dab of water-based wall primer over the dried patch if you are using flat or matte paint, or use a paint-and-primer-in-one. Unprimed spackle absorbs paint differently than the surrounding wall, leaving a dull spot known as “flashing.”
-
Dab matching wall paint over the area using a small foam brush or a rolled-up paper towel corner to mimic a roller texture.
Common Mistakes to Avoid
-
Applying thick layers all at once: Slathering a thick glob of spackle over a small hole takes forever to dry and invariably shrinks or cracks. For deeper holes, apply a thin first coat, let it dry, and fill any slight depression with a second thin coat.
-
Skipping the prep countersink: Leaving the raised paper collar around a nail hole forces your patch to sit on a bump, making the repair impossible to blend invisibly.
-
Using heavy-grit sandpaper: Coarse sandpaper (like 60-grit or 80-grit) is designed for raw wood or heavy drywall tape joints. Using it on a small spackle patch will gouge the soft compound and ruin the smooth surface.
When You Should Call a Professional
While minor nail holes and door dings are ideal beginner DIY projects, larger damage requires different techniques.
-
Holes larger than a fist: Any drywall damage exceeding three to four inches across requires a proper backing patch, drywall tape, and multiple wider coats of joint compound to blend smoothly.
-
Cracks spreading across wall corners: If drywall cracks form neat diagonal lines radiating from door corners or ceiling joints, it can indicate structural settling that requires professional evaluation.
-
Extensive water damage: If wall holes are soft, damp, or surrounded by bubbling paint and mold, the underlying leak must be resolved before any cosmetic patching is attempted.
How to Prevent the Problem in the Future
-
Install door stops: Mount a spring or rigid door stop on the baseboard or wall behind doorknobs to absorb impact and prevent future handle dents in high-traffic hallways.
-
Use proper picture hangers: Instead of driving random nails into drywall for heavy frames, use rated wall anchors or locate studs to secure heavy items safely without shifting.
Frequently Asked Questions
Do I really need to paint over the patch, or can I just use white spackle?
While white spackle blends into white walls from a distance, it rarely matches the exact sheen, undertone, or age of your existing wall paint. A quick dab of touch-up paint ensures the repair completely disappears.
Can I use toothpaste to fill small nail holes?
Toothpaste is a temporary novelty trick used by renters looking for a quick fix before an inspection. However, it shrinks as it dries, attracts pests due to its sugar content, and reacts poorly with future coats of wall paint. Always use proper drywall spackle for a lasting repair.
Why did my spackle crack after it dried?
Spackle cracks when applied too thickly in a single deep layer as the outer surface dries faster than the interior moisture. For slightly deeper holes, apply two thin layers, allowing the first to dry completely before adding the second.