
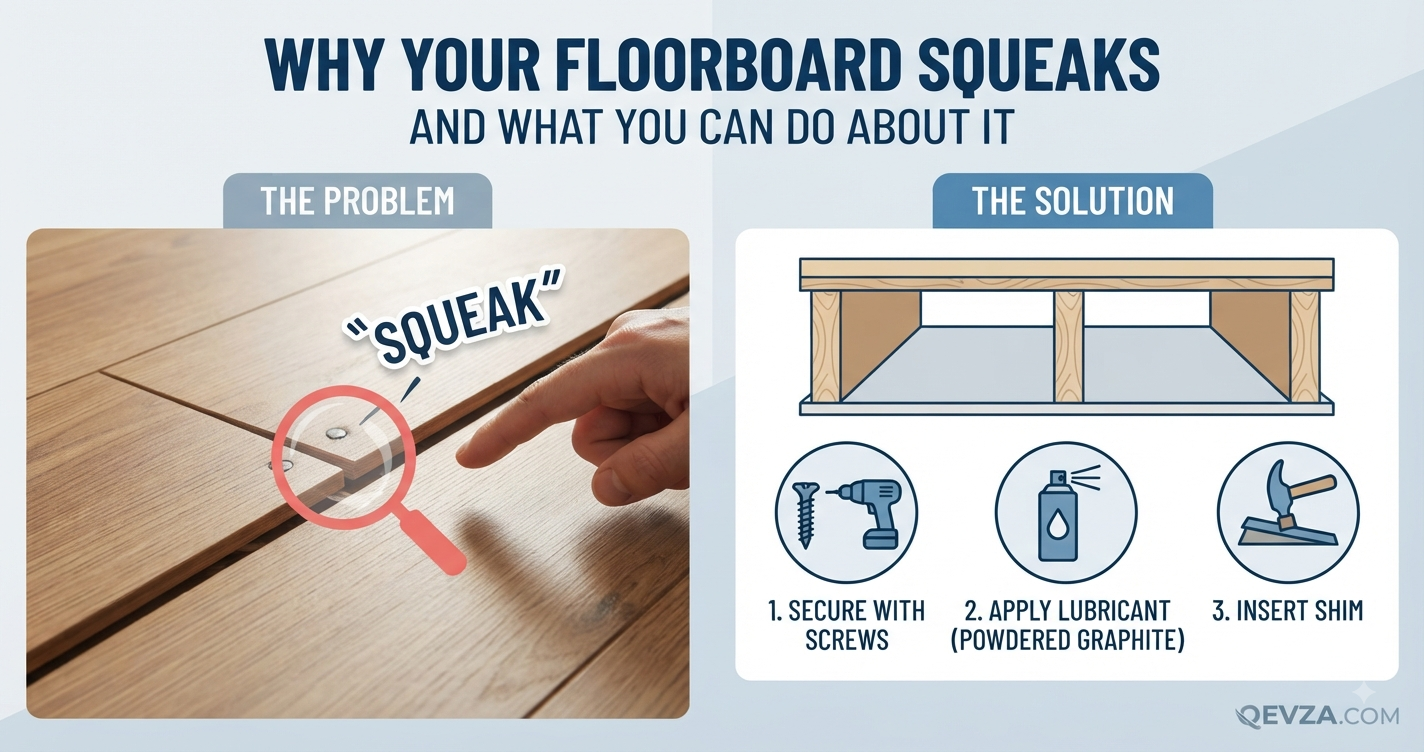
Walking across your bedroom or hallway at night shouldn’t feel like stepping through a sound effects studio. Yet, a sudden, sharp groan or squeak beneath your feet can instantly shatter the quiet of a home.
Whether it is a single noisy spot right outside the bathroom door or a chorus of complaints across the living room hardwood, noisy floors are a universal household grievance. Many homeowners assume that fixing a noisy floorboard requires tearing up the carpeting or replacing expensive hardwood planks.
In most cases, however, the fix is much simpler. Understanding why that friction happens allows you to silence the noise using basic tools and straightforward techniques.
What the Problem Usually Means
When a floorboard squeaks, it means two surfaces that should be locked tightly together are rubbing against each other.
Wood is a dynamic material that responds to pressure, temperature, and moisture. When you step on a floor, your weight pushes the surface planks downward. If the subfloor panel, the finished flooring board, or the wooden joist beneath them has even a fraction of a millimeter of play, those materials will flex and rub.
That micro-friction generates sound waves, resulting in the familiar groan or chirp. Pinpointing whether the noise originates from hardwood planks, carpeted subfloors, or loose framing determines your next steps.
Common Reasons This Happens
Floorboards don’t start out noisy. Over years of foot traffic and environmental shifts, structural components loosen up.
-
Wood shrinkage and seasonal humidity: Wood expands when humidity is high and shrinks as indoor air dries out during winter heating seasons. As wood dries, gaps form around nails, allowing boards to slide slightly under pressure.
-
Subfloor separation: Finished flooring rests on top of a subfloor panel of plywood or oriented strand board (OSB). If the subfloor loses its tight connection to the floor joists below, it flexes independently every time someone walks across it.
-
Nail or fastener fatigue: Nails holding down subfloors or hardwood planks can work their way loose over decades of vibration, leaving a tiny gap where the metal shank rubs against the wood.
-
Gaps between tongue and groove joints: Hardwood flooring planks lock together using tongue-and-groove edges. If movement occurs, these tight wooden edges grind against one another.
What You Can Check Yourself
Before you attempt any repairs, you need to locate the exact source of the sound.
-
Walk with a partner: Have someone else walk slowly across the area while you kneel close to the floor, listening and watching. Place your hand flat on the floorboards to feel where the vibration is strongest.
-
Check carpeted areas versus hard surfaces: If the floor is carpeted, the squeak is usually coming from the subfloor panels rubbing against joists or loose subfloor screws. If it is exposed hardwood, the noise often comes from friction between individual boards or loose face nails.
-
Test for deflection: Watch if the floor visibly dips or bounces slightly underfoot. A noticeable dip indicates that the structural support or subfloor has separated from the framing beneath.
[Internal link opportunity: article about essential tools every homeowner should keep in a basic toolkit]
How to Fix the Problem
The right repair method depends entirely on what kind of flooring you have and whether you can access the floor from above or below.
Fixing Squeaks in Hardwood Floors From Above
If your hardwood planks groan when stepped on, you can often quiet them using specialized lubricants or breakaway screws.
-
Using Talcum Powder or Graphite: If the squeak comes from friction between two tight boards rubbing together, sprinkle powdered graphite or talcum powder over the noisy area. Work the powder into the cracks between the planks using a soft brush or a cloth. As you walk, the powder acts as a dry lubricant, eliminating the friction.
-
Using Breakaway Squeak Repair Screws: For squeaks caused by subfloors or hardwood pulling away from joists, specialized breakaway screws are an effective DIY solution. These screws feature a scored head designed to snap off cleanly below the wood surface. Drive the screw directly through the carpet or hardwood into the subfloor and joist using a drill. Once driven past the surface level, wiggle the screw head until it snaps off cleanly out of sight.
Fixing Squeaks From Below (Basements and Crawlspaces)
If you have an unfinished basement or an accessible crawlspace beneath the squeaky floor, fixing the problem from underneath is often the cleanest method because it leaves your finished flooring untouched.
-
Walk across the floor above while a helper calls out or taps to pinpoint the exact joist bay making noise.
-
Look up at the subfloor panels from below. Check for tiny gaps between the top of the floor joist and the bottom of the subfloor plywood.
-
Drive a wood shim coated in carpenter’s glue gently into any visible gap between the joist and subfloor. Never hammer shims in too hard, or you risk lifting the floorboards above.
-
Alternatively, drive a sturdy wood screw through a metal framing bracket or angle iron connecting the joist directly to the subfloor panel.
Common Mistakes to Avoid
-
Driving random nails into hardwood: Hammering standard nails into finished hardwood floors can split the wood planks or leave unsightly hammer dents. Always pre-drill holes if face-nailing hardwood.
-
Forcing shims too tightly: Wedging thick wooden shims into gaps from underneath with excessive force can warp the subfloor and create an uneven bump in the room above.
-
Ignoring the underlying humidity: Slathering adhesives or driving screws without addressing extreme indoor humidity swings means the wood will continue to expand and contract, eventually bringing the squeak back.
When You Should Call a Professional
While minor floor squeaks are classic weekend DIY projects, some situations point to deeper structural concerns.
-
Sagging or compromised joists: If floor joists in a crawlspace show cracks, termite damage, or water rot, or if large sections of the floor feel spongy and bouncy, stop walking on the area and consult a structural carpenter or contractor.
-
Extensive subfloor water damage: If a historic leak from a bathroom or kitchen pipe has rotted the subfloor panels underneath, patching from above will not hold. The damaged sections must be cut out and replaced.
How to Prevent the Problem in the Future
-
Control indoor humidity: Keep your home’s relative humidity stable between 35% and 55% using air conditioning in the summer and a humidifier during dry winter months. This prevents wood flooring from drying out and shrinking.
-
Secure subfloors during renovations: If you ever pull up old flooring during a remodel, take the extra time to screw down the subfloor panels to the joists using construction adhesive and ring-shank screws before laying new material down.
Frequently Asked Questions
Can I use baby powder to fix a squeaky carpeted floor?
No. Talcum powder or graphite works well for exposed hardwood planks where powder can slip between cracks. In a carpeted room, the powder cannot reach the subfloor friction points beneath the padding, making it ineffective.
Why do some floor squeaks disappear during humid summer months?
Wood absorbs moisture from humid air, causing the planks to swell. That natural expansion tightens the gaps between boards and subfloors, temporarily silencing the friction until dry winter air causes the wood to shrink again.
Are floor squeaks a sign that my house is falling down?
Almost never. In the vast majority of homes, floor squeaks are simply a normal result of minor wood movement, aging fasteners, and everyday foot traffic. They are an acoustic annoyance rather than a structural emergency.